


Prepare the food and the surrounding area
Read the model’s instructions before starting. Defrost arrangements, drainage and cleaning materials differ, and some refrigerators have separate requirements for the fresh-food and freezer compartments. Choose a time when there is less food to move.
Relocate perishable and frozen food to suitable temperature-controlled storage. An ordinary box on the floor is not a replacement for refrigeration. Follow food-safety guidance if safe temperatures cannot be maintained.
Clear enough working room to remove shelves and drawers. Protect the surrounding floor or furniture from meltwater as the instructions require. Keep water away from electrical components and disconnect the appliance in the manner specified.
Evidence and source notes ↗Let the ice come away safely
Use only the defrost method permitted by the manufacturer. Do not chip at ice with knives, screwdrivers or other sharp tools; damaging an internal surface can damage the appliance. Do not introduce electrical heaters or an improvised heat source.
Follow any model-specific drain or collection arrangements. Keep checking towels or collection containers so water does not spread into the room. Avoid forcing parts that are still frozen in place.
The time required varies with the model and the amount of ice. Rather than promising a universal number of minutes, allow enough time to complete the process and dry the appliance properly. If a door seal or operating issue is causing unusual frost, address that cause through the instructions or support.

Clean shelves, seals and surfaces gently
Use the cleaner and dilution permitted by the manual. Avoid assuming that an abrasive pad, strong chemical or scented cleaner is suitable for the interior. Remove shelves and drawers only as instructed.
Allow cold glass components to reach a suitable temperature before exposing them to warmer cleaning water, following the model’s guidance. Clean spills and accessible seals, and dry the parts before reassembly. Keep moisture away from controls and other electrical areas.
The exterior and ventilation areas may need a different maintenance method from the interior. Follow the instructions for accessible cleaning and keep the required airflow clear. Do not remove protective panels or work on refrigerant components.
Restart and confirm the result
Reassemble the shelves and drawers correctly, ensure the door closes and reconnect the appliance as instructed. Use the recommended control setting and allow the specified stabilisation period.
Check temperatures before relying on the appliance for perishable food. A light turning on or a compressor starting does not establish that the storage compartment has reached the intended temperature. The temperature guide explains the difference between dial settings and actual readings.
If the fridge will be stored switched off, follow the manufacturer’s drying and door-position instructions. Secure the appliance against unintended access and make arrangements appropriate to the storage location.
Evidence and source notes ↗Know which part of the appliance defrosts automatically
A manual-defrost model requires a planned defrost routine. Partial automatic defrost does not mean that every compartment is frost-free. The GE GDE03GGKBB is an example where the freezer still needs attention even though the refrigerator description includes partial automatic defrost.
Freezerless is not a guarantee of automatic defrost either. Match the exact model’s instructions and resolve conflicting descriptions before buying on a low-maintenance claim. Routine cleaning and door-seal care remain relevant whichever system is used.
Use a restart checklist before putting food back
If ice returns unusually quickly, look first for a door that is not closing, damaged or dirty seals, and changes in the loading or opening routine. Persistent trouble needs the model’s troubleshooting or support route. The temperature guide helps organise the observations without guessing at a repair.
- Check that removable parts and the drain arrangement are restored as the instructions require, and that the door seal is clean and closes properly.
- Keep the required ventilation space clear and restart using the exact control and waiting instructions for the appliance.
- Confirm suitable compartment temperatures before returning perishable or frozen food; elapsed time alone is not a temperature reading.
Models that illustrate the choice
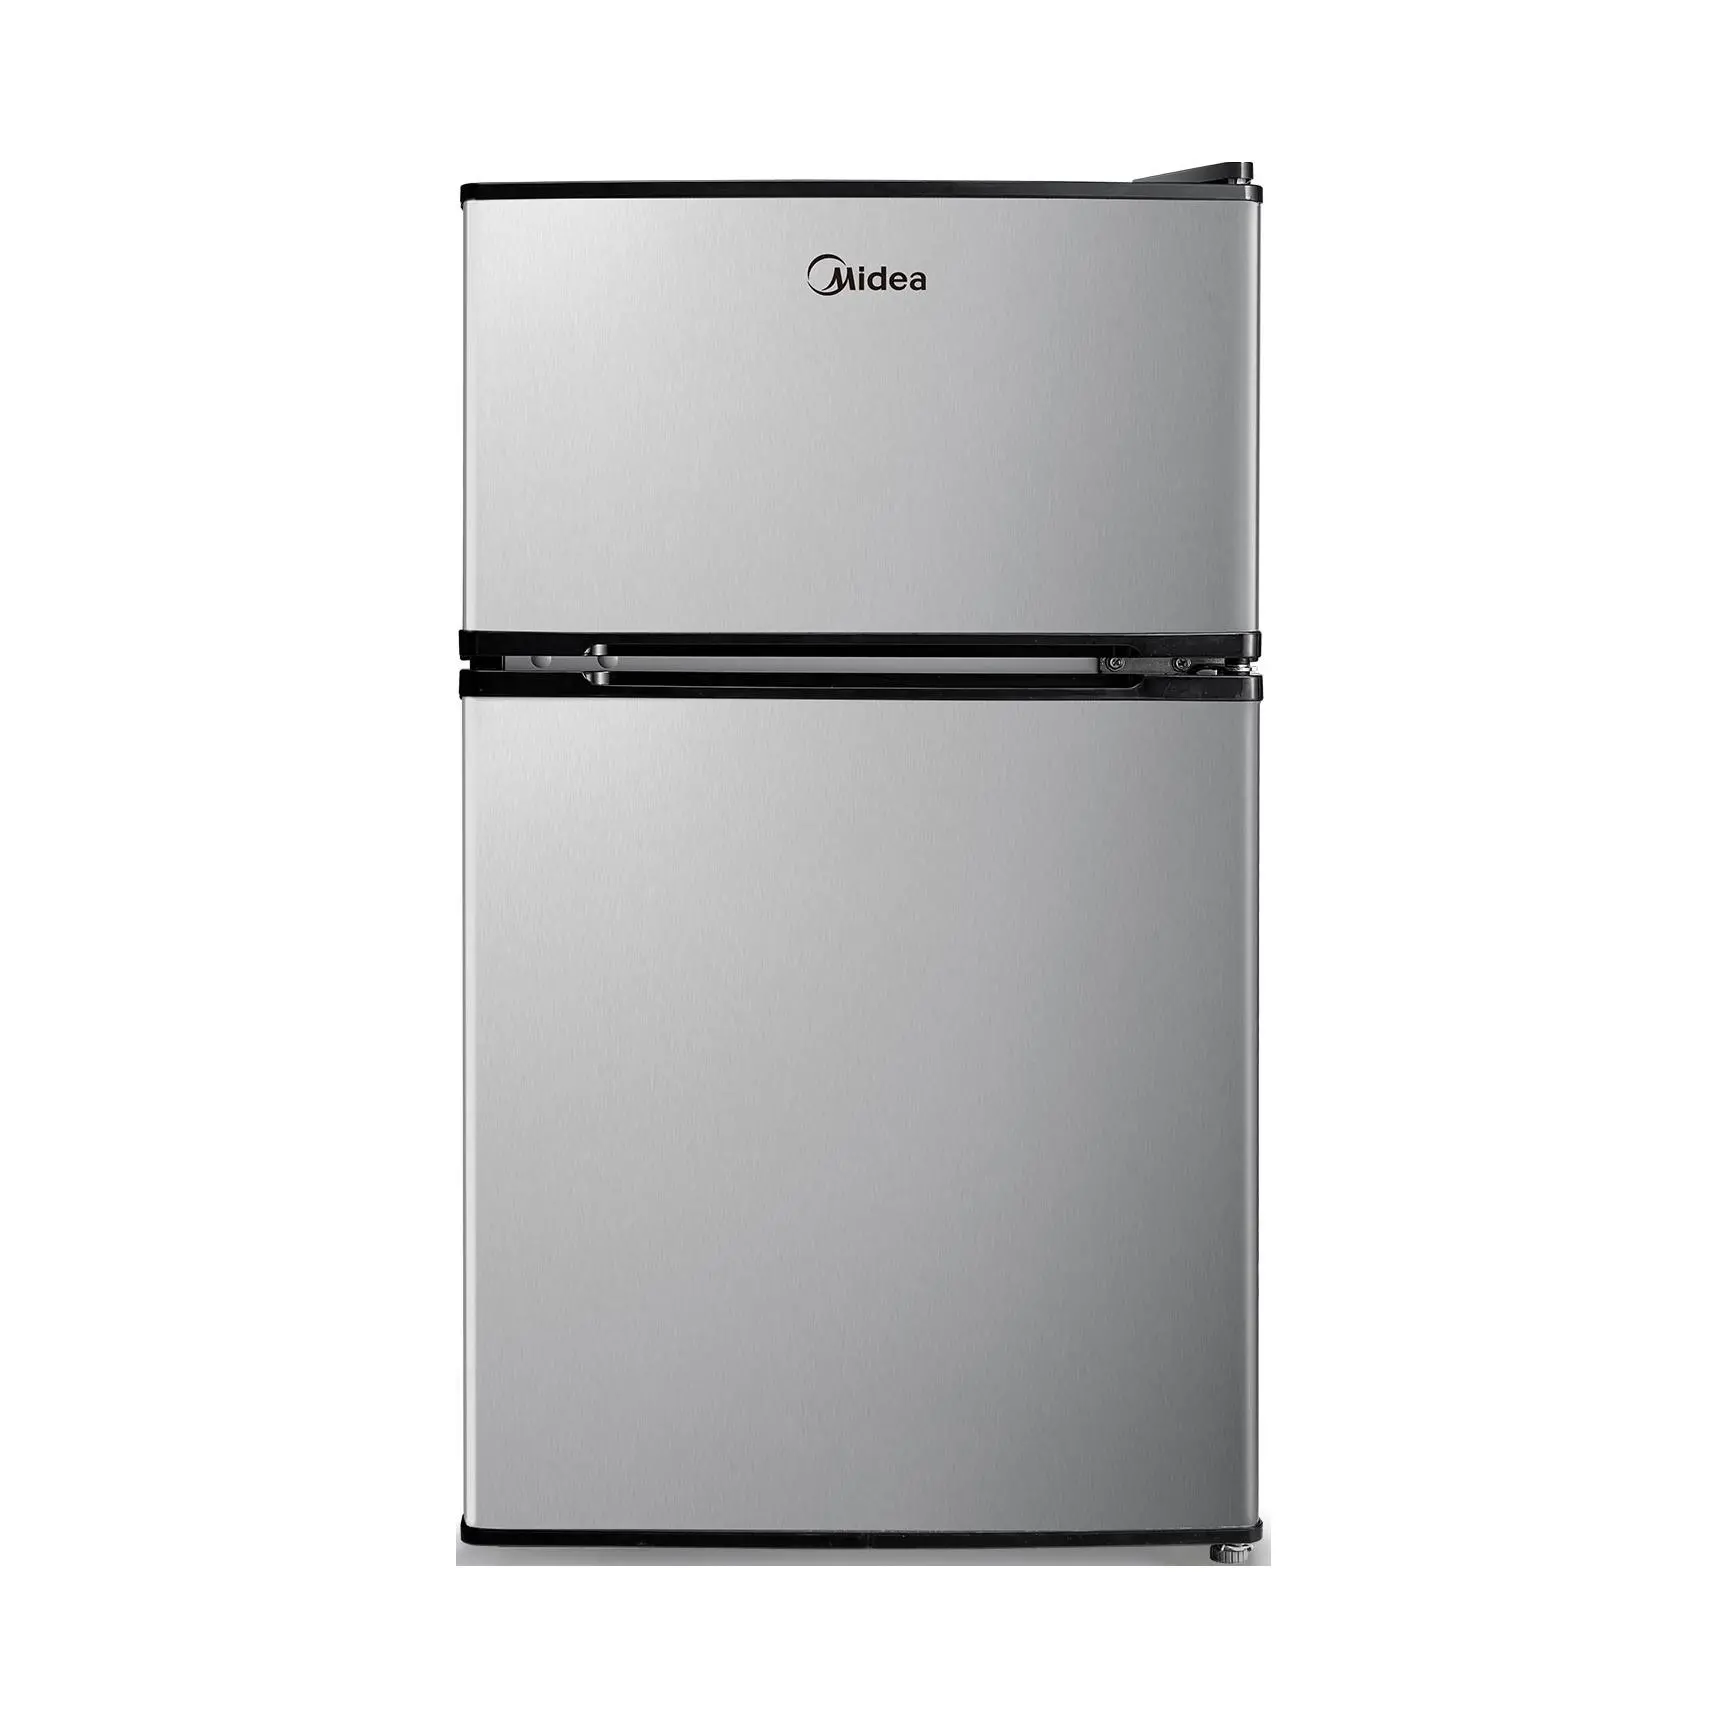
My pick for food + frozen meals
Midea WHD-113FSS1
A separate-freezer example whose defrost classifications conflict. Resolve the current instructions and plan safe food relocation for maintenance.
Read the full WHD-113FSS1 review →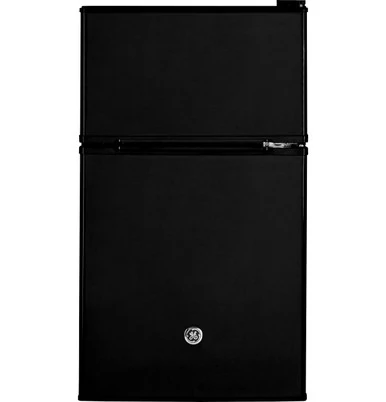
Another food + freezer option
GE GDE03GGKBB
A useful example of partial automatic defrost: the wording does not remove freezer upkeep. Compare the compartments separately.
Read the full GDE03GGKBB review →Questions before you choose
Can I speed up defrosting with a hair dryer?
Do not improvise an electrical heat source around meltwater. Use only a method permitted by the exact manufacturer instructions.
Does automatic defrost mean no cleaning?
No. Spills, shelves, door seals and ventilation still need appropriate care. The automatic function addresses a specific defrost process.
When can I put food back?
After restart and stabilisation, verify that the relevant compartment has reached the required storage temperature. Follow the appliance and food-safety instructions.